Imagine having a digital drawing board that lets you create stunning visuals, animations, and even games—all inside your browser! 🎨 That’s exactly what the HTML Canvas API does. It gives you the power to draw directly onto a web page using JavaScript, offering pixel-perfect control over every stroke, shape, and animation. 🖌️
One of the powerful APIs that you will be using for interactive graphics, dynamic charts, animations, and much more is the Canvas API. Do You want to design some visual data dashboard, or are you developing a game, or do you want to add a unique visual element to your website? With Canvas API, there are endless possibilities.🌟
Use Cases and Importance
So, why use the Canvas API? Here are a few cool reasons:
- Animations: From simple loaders to complex transitions, Canvas makes it all possible.
- Game Development: Many browser-based games use Canvas for their smooth graphics.
- Dynamic Charts: Visualizing data in real-time? Canvas is the go-to for creating custom charts.
- Creative Designs: With complete control over the canvas, you can experiment with colors, shapes, and animations in ways that other HTML elements just can’t do.
Whether you’re just doodling or building a fully-fledged interactive application, the Canvas API is a tool you’ll want in your arsenal.
Table of Contents
How Canvas Works in the Browser
Now, let’s talk about how it works behind the scenes! 🚀
When you add a <canvas> element to your HTML page, it creates a blank space where you can start drawing. But to get things moving, you’ll need JavaScript. The magic happens when you access the 2D rendering context, allowing you to paint, draw, and animate.
Canvas vs. SVG
You might be wondering: “How is Canvas different from SVG?” Well, while SVG is great for creating scalable vector graphics (which are more like drawings with defined shapes), Canvas is your go-to for pixel-level manipulation. Canvas is perfect when you need fast, dynamic changes like in games or animations, where every single pixel counts.
Canvas lets you paint each pixel to create dynamic and interactive graphics. From moving objects across the screen to creating smooth animations or drawing custom shapes, it’s like having a high-performance art studio in your browser. 🎮✨
Now let us dive into this wonderful tutorial.
1. Setting Up the Canvas
Creating the Canvas Element
Let’s start by getting our canvas set up in HTML. The <canvas> element is where all the magic happens. Adding it to your HTML is super simple:
<canvas id="myCanvas" width="600" height="400"></canvas>
You might be wondering what this one line can do.
Well let me show you the result after some CSS.
body {
  display: flex;
  justify-content: center;
  align-items: center;
  height: 100vh;
  margin: 0;
  font-family: Arial, sans-serif;
  background-color: #f7f7f7;
}

#myCanvas {
  border: 1px solid #ccc;
  border-radius: 10px;
  box-shadow: 0 0 10px rgba(0, 0, 0, 0.2);
  margin: 50px auto;
}
Output:

Here, we’ve created a canvas that’s 600px wide and 400px high. Think of this as your digital painting canvas—ready for you to unleash your creativity! 🎨
Defining Width and Height
The width and height attributes define the size of your canvas. It’s essential to set these directly in the HTML to avoid potential scaling issues when you start drawing. Without these attributes, your canvas might take on default sizes, leading to unexpected results. 😬
Now we have set up our board, the real magic will begin now.
Accessing the 2D Rendering Context
Once you have your canvas, the next step is to start drawing! But before that, we need to access the 2D rendering context—this is what lets us actually paint onto the canvas.
const canvas = document.getElementById('myCanvas');
const ctx = canvas.getContext('2d');
Here, ctx represents the context—the drawing environment where you’ll create shapes, text, images, and animations. 💡
2D vs. 3D Contexts
You’ll most commonly use the 2d context to draw. However, there’s also a 3D context option known as WebGL, which is used for rendering 3D graphics. But since we’re focusing on 2D drawings for now, let’s stick with our 2d context and leave WebGL for another day. 😉
2. Drawing Shapes and Text
Now that your canvas is ready, let’s get creative and start drawing!
Basic Shapes
Let’s begin with some basic shapes like rectangles, circles, and lines.
Drawing a Rectangle
// Draw a filled rectangle
ctx.fillStyle = "skyblue"; // Set the fill color
ctx.fillRect(50, 50, 200, 100); // x, y, width, height
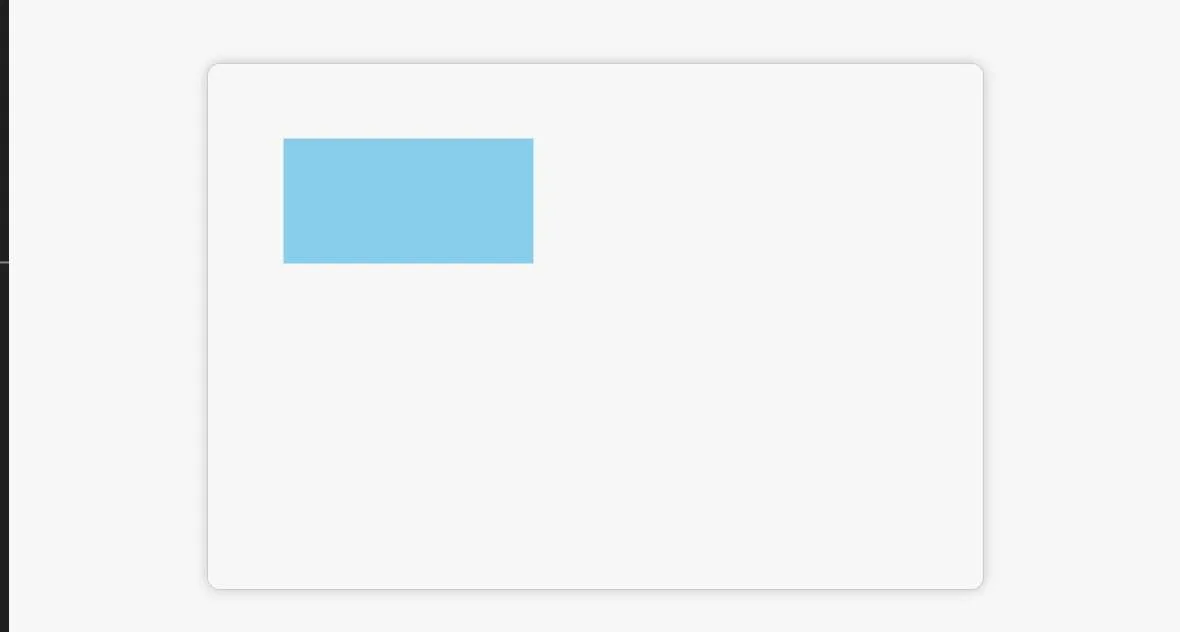
This will draw a sky blue rectangle starting at coordinates (50, 50) and sized at 200×100 pixels. Easy, right? But what if you want just the outline of the rectangle? Use strokeRect() instead:
ctx.strokeStyle = "blue"; // Outline color
ctx.lineWidth = 5; // Set line thickness
ctx.strokeRect(300, 50, 150, 100); // Outline a rectangle
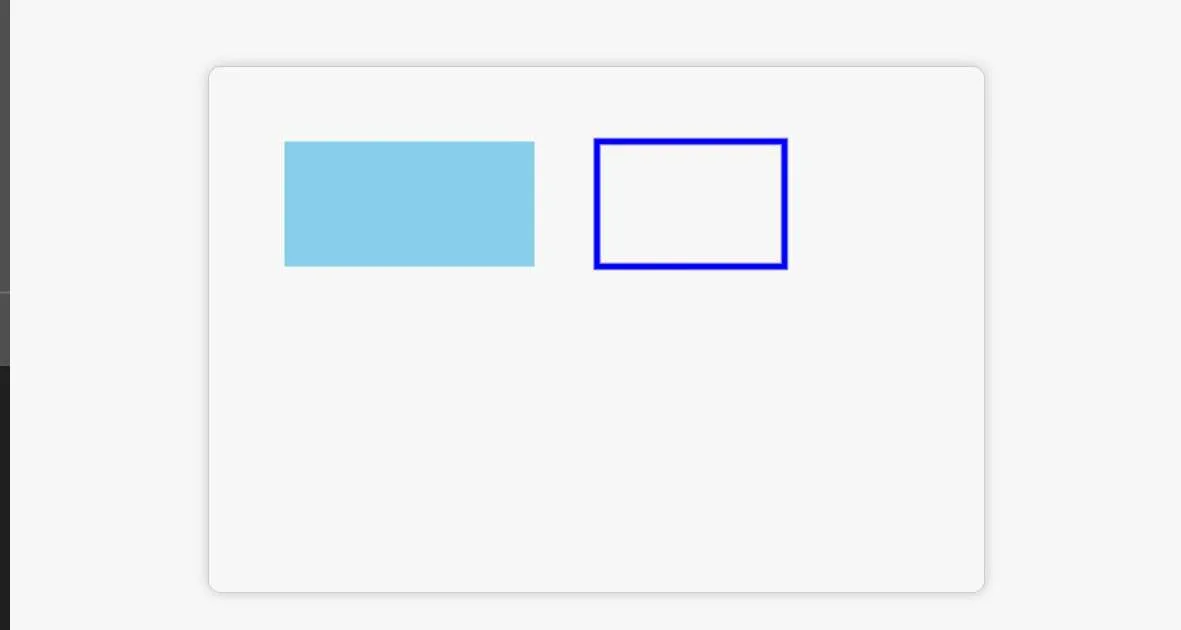
You’ve now got both a filled and outlined rectangle on your canvas! 🟦
Drawing Circles and Arcs
What’s cooler than drawing a circle? Let’s do that next:
ctx.beginPath();
ctx.arc(150, 200, 50, 0, Math.PI * 2); // x, y, radius, startAngle, endAngle
ctx.fillStyle = "orange";
ctx.fill(); // Fill the circle
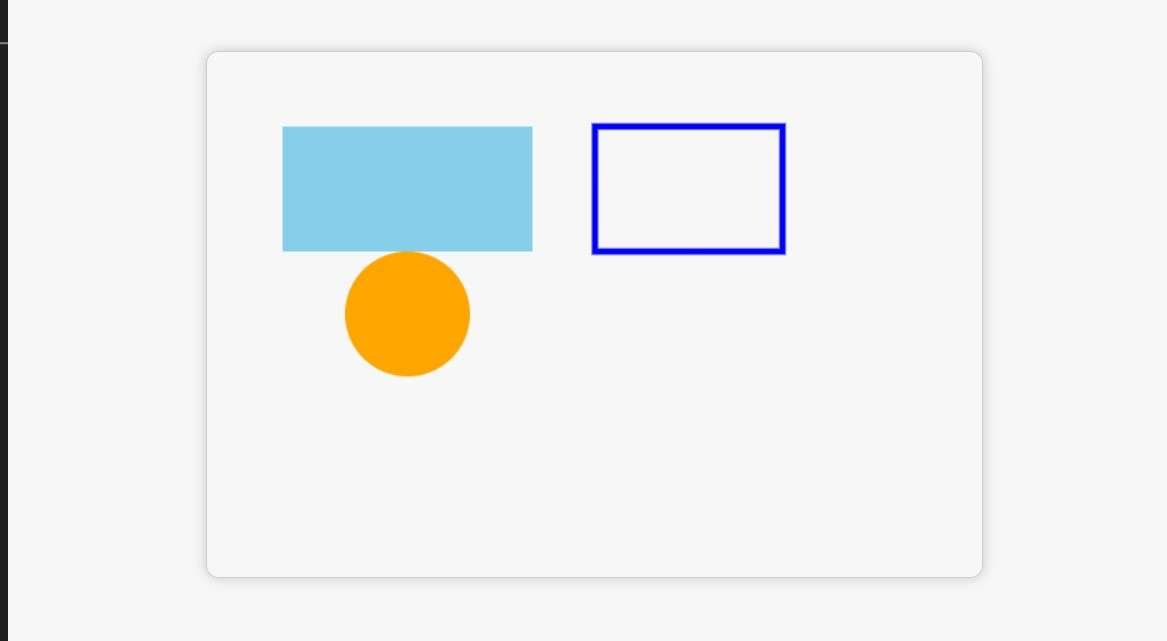
This code draws a filled orange circle with a 50px radius at (150, 200). For any circle, the arc() method is your best friend. 🎯
Filling and Stroking Shapes
When you draw shapes, you can either fill them with color or just stroke the outline. We’ve already used fillRect() and strokeRect() for rectangles, but you can do the same with other shapes like circles or lines by using fill() and stroke() after defining your paths.
// Get the canvas element
var canvas = document.getElementById('myCanvas');
var ctx = canvas.getContext('2d');

// Fill a rectangle
ctx.fillStyle = 'red';
ctx.fillRect(50, 50, 100, 100);

// Stroke a rectangle
ctx.strokeStyle = 'blue';
ctx.lineWidth = 5;
ctx.strokeRect(200, 50, 100, 100);

// Fill a circle
ctx.fillStyle = 'green';
ctx.beginPath();
ctx.arc(150, 250, 50, 0, 2 * Math.PI);
ctx.fill();

// Stroke a circle
ctx.strokeStyle = 'purple';
ctx.lineWidth = 3;
ctx.beginPath();
ctx.arc(300, 250, 50, 0, 2 * Math.PI);
ctx.stroke();

// Fill a line
ctx.fillStyle = 'orange';
ctx.beginPath();
ctx.moveTo(50, 350);
ctx.lineTo(200, 350);
ctx.lineTo(200, 400);
ctx.fill();

// Stroke a line
ctx.strokeStyle = 'black';
ctx.lineWidth = 2;
ctx.beginPath();
ctx.moveTo(250, 350);
ctx.lineTo(400, 350);
ctx.lineTo(400, 400);
ctx.stroke();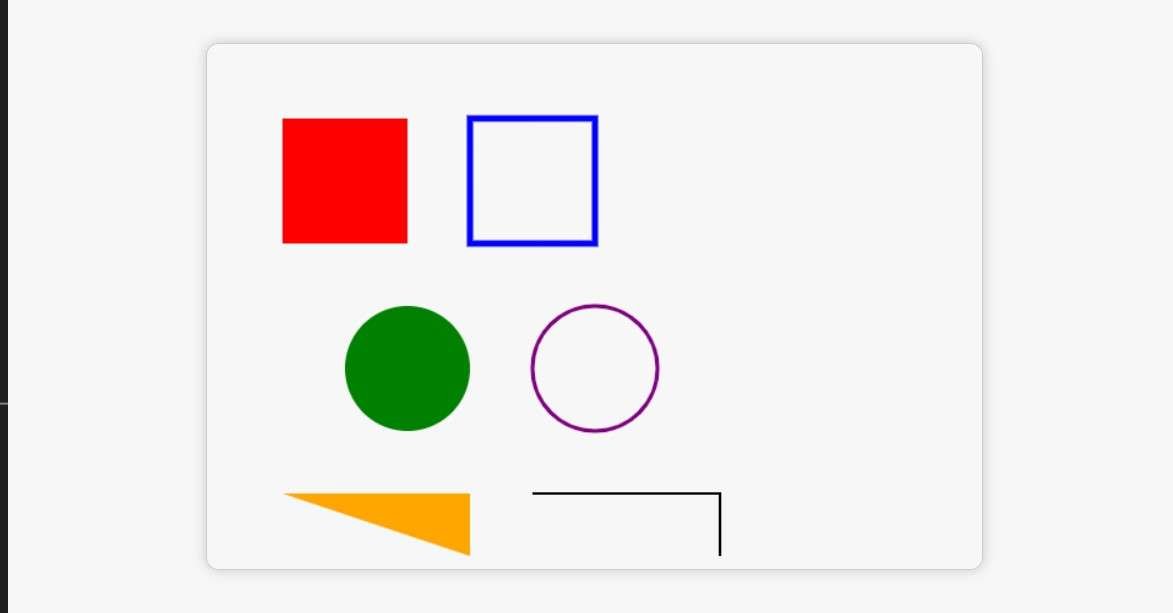
Customizing Shapes
Now, let’s have some fun with customizing shapes. 🎨 You’re not limited to basic colors—Canvas gives you the freedom to use gradients, patterns, and line styles!
Using Gradients
Gradients can give your shapes a more dynamic look:
const gradient = ctx.createLinearGradient(0, 0, 200, 0);
gradient.addColorStop(0, "red");
gradient.addColorStop(1, "yellow");
ctx.fillStyle = gradient;
ctx.fillRect(50, 300, 200, 100); // Draw a rectangle with gradient fill
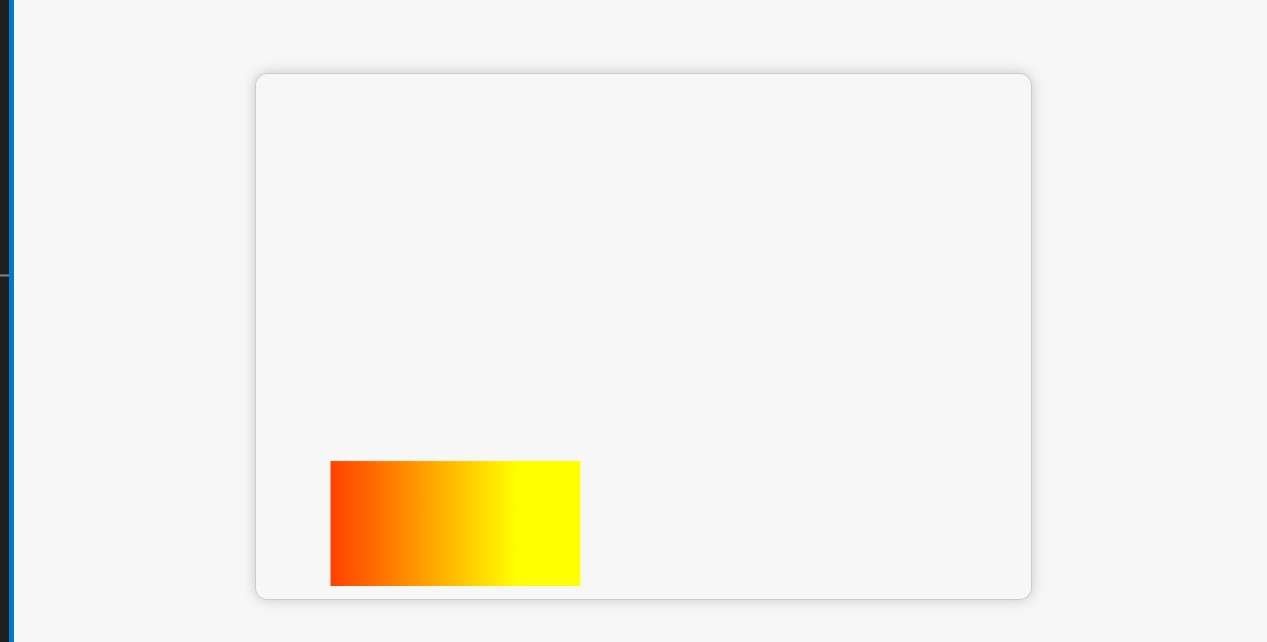
Now you have a rectangle that fades from red to yellow! How cool is that? 🌈
Adjusting Line Width, Caps, and Joins
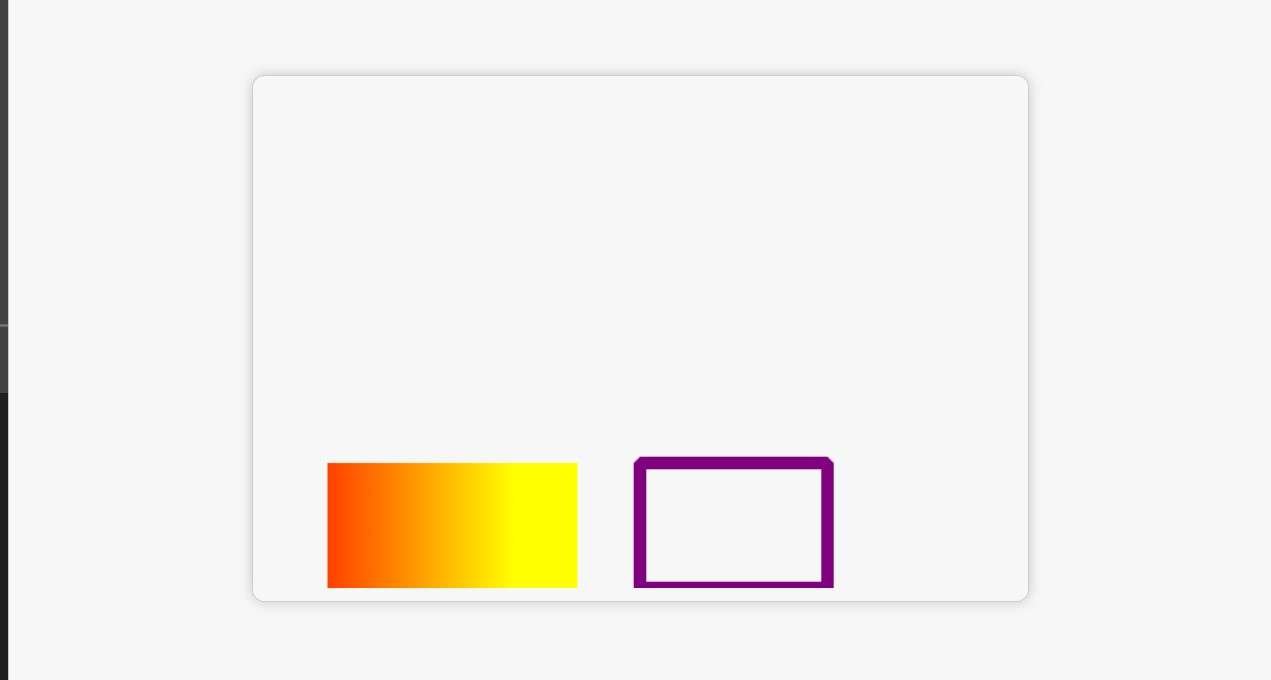
You can customize the appearance of strokes by changing the line width, cap style, and how lines join. For example:
ctx.lineWidth = 10; // Thick lines
ctx.lineCap = "round"; // Round line ends
ctx.lineJoin = "bevel"; // Beveled corners
ctx.strokeStyle = "purple";
ctx.strokeRect(300, 300, 150, 100); // Purple rectangle with custom lines
Text on Canvas
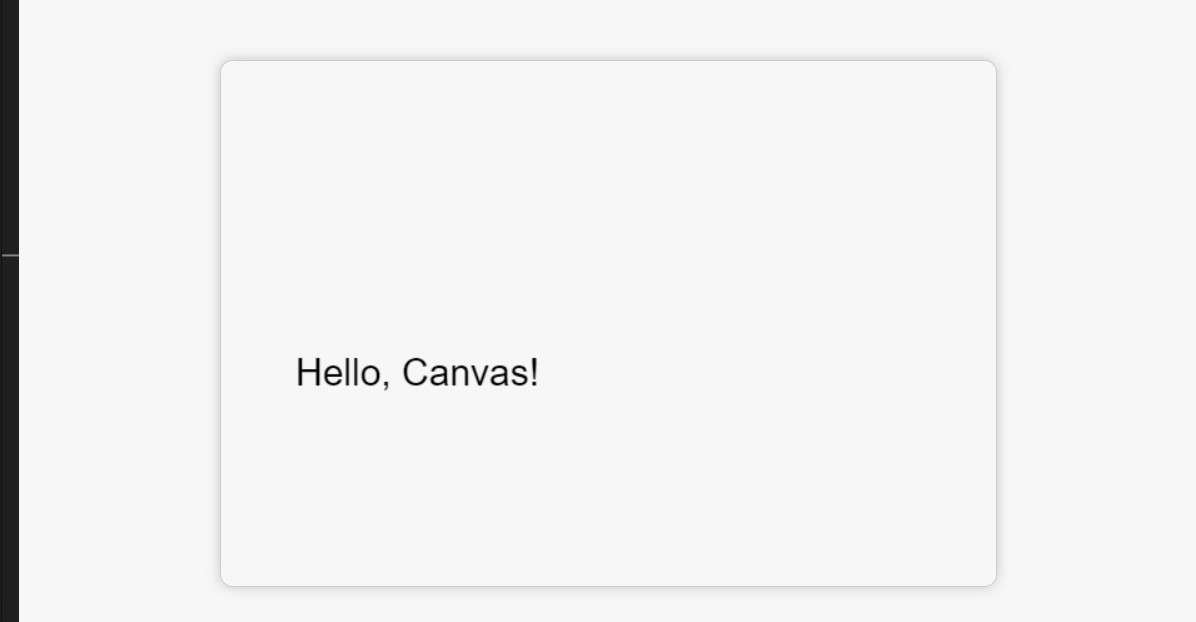
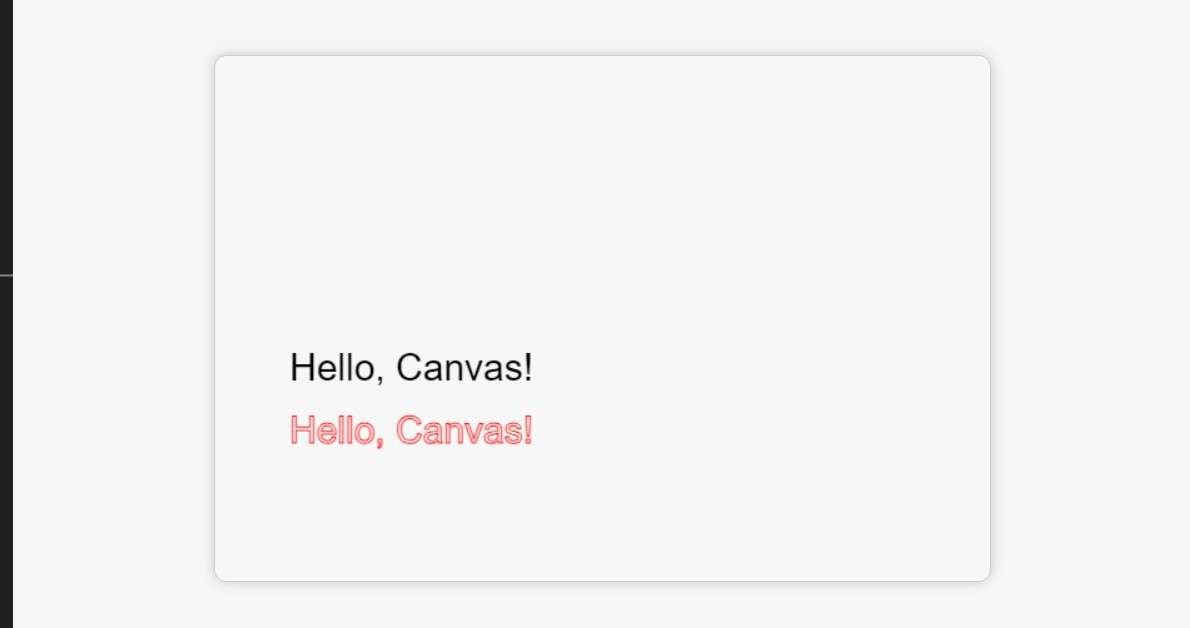
Want to add text to your canvas? It’s easy to do with fillText() for solid text or strokeText() for outlined text.
ctx.font = "30px Arial";
ctx.fillStyle = "black";
ctx.fillText("Hello, Canvas!", 50, 250); // Draw filled text
You can also outline your text with strokeText():
ctx.strokeStyle = "red";
ctx.strokeText("Hello, Canvas!", 50, 300); // Draw outlined text
Customizing Fonts, Size, and Alignment
You have full control over the appearance of your text. Change the font, size, and even alignment to fit your design. The possibilities are endless!
In this section, you’ve learned how to set up the Canvas and draw some basic shapes and text. You’re now equipped to create custom designs, visualizations, or even the beginnings of a simple game! Ready to move on to more complex shapes and animations? Let’s do it!
3. Working with Paths and Bezier Curves
When working with the Canvas API, paths are like invisible lines you draw between points. These paths can be straight, curved, or anything in between. Let’s see how they work!
Understanding Paths
In Canvas, paths allow you to define a series of points and lines that you can then draw or fill. It’s kind of like sketching a shape in pencil before going over it with a pen.
Starting a Path: beginPath()
To start drawing a path, you use beginPath():
ctx.beginPath();
ctx.moveTo(50, 50); // Starting point
ctx.lineTo(150, 50); // Draw a line
ctx.lineTo(150, 150); // Another line
ctx.closePath(); // Close the path (optional)
ctx.stroke(); // Draw the outline of the path
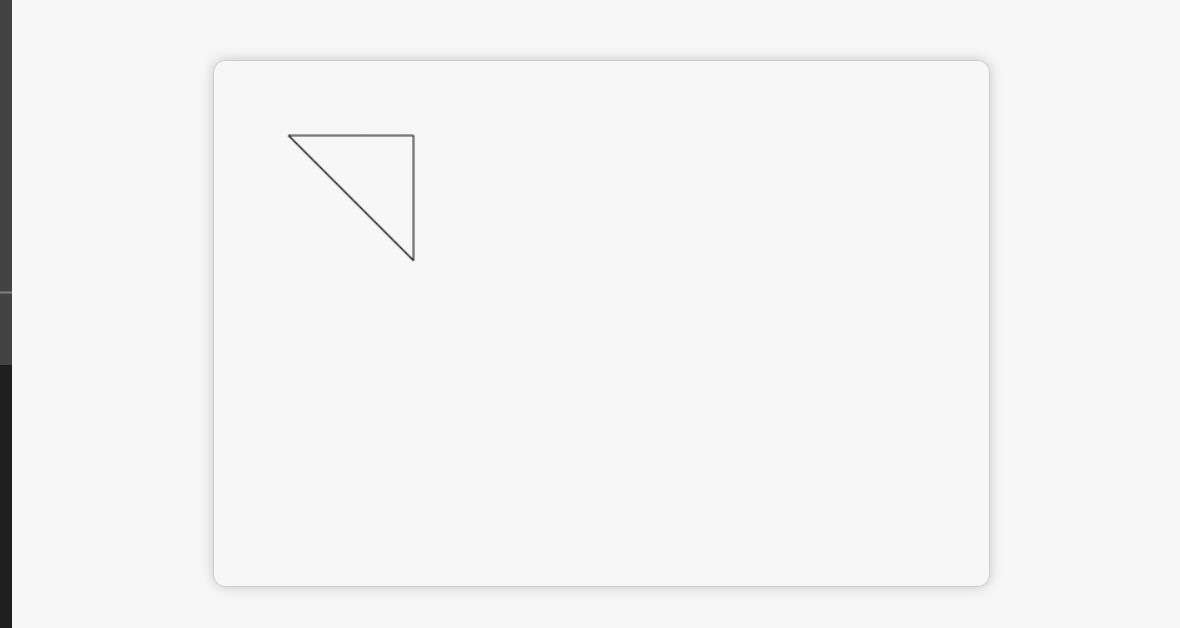
The beginPath() method starts a new path, and closePath() ensures the last point connects to the first, creating a closed shape.
Combining Multiple Paths
You can create complex designs by combining multiple paths. Just keep calling beginPath() for each new set of lines or shapes you want to create.
// First shape
ctx.beginPath();
ctx.moveTo(200, 200);
ctx.lineTo(300, 200);
ctx.lineTo(300, 300);
ctx.closePath();
ctx.stroke();

// Second shape
ctx.beginPath();
ctx.arc(400, 200, 50, 0, Math.PI * 2);
ctx.stroke();
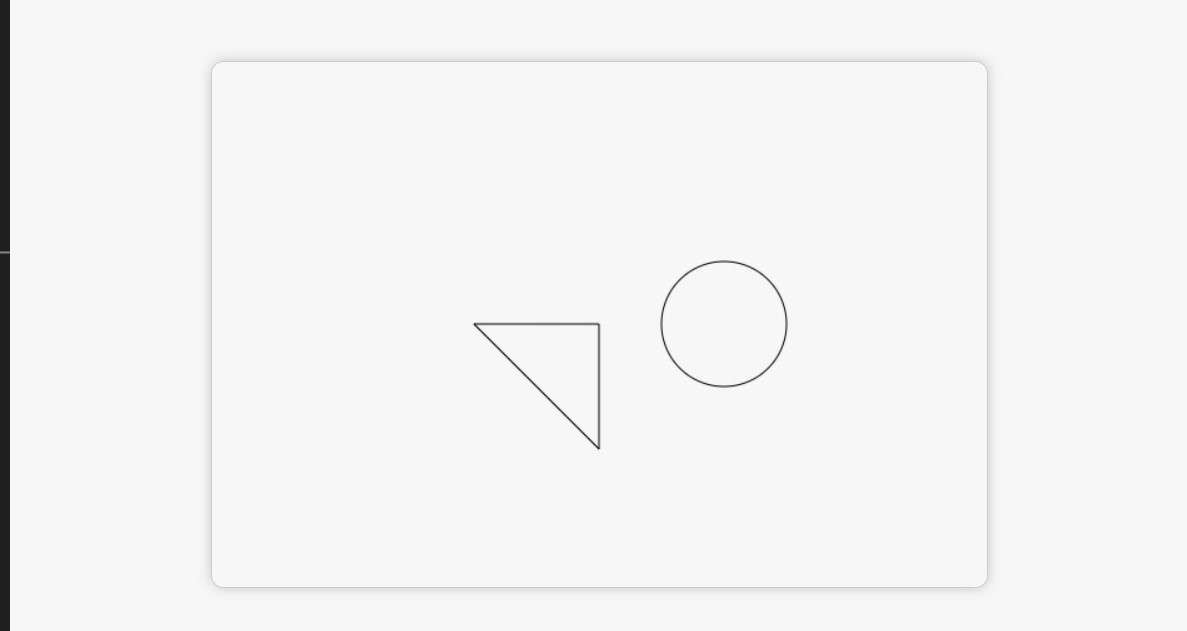
This draws a triangle and a circle, side by side! 🎨 By using beginPath(), each shape is independent and won’t interfere with the others.
Curves and Arcs
Curves give your drawings a smooth, flowing look, and they’re an essential part of creating more complex shapes.
Quadratic Bezier Curves
A quadratic Bezier curve requires two points: a control point that bends the curve and an endpoint. It’s great for drawing smooth arcs or waves.
ctx.beginPath();
ctx.moveTo(50, 300); // Start point
ctx.quadraticCurveTo(150, 200, 250, 300); // Control point, end point
ctx.stroke();
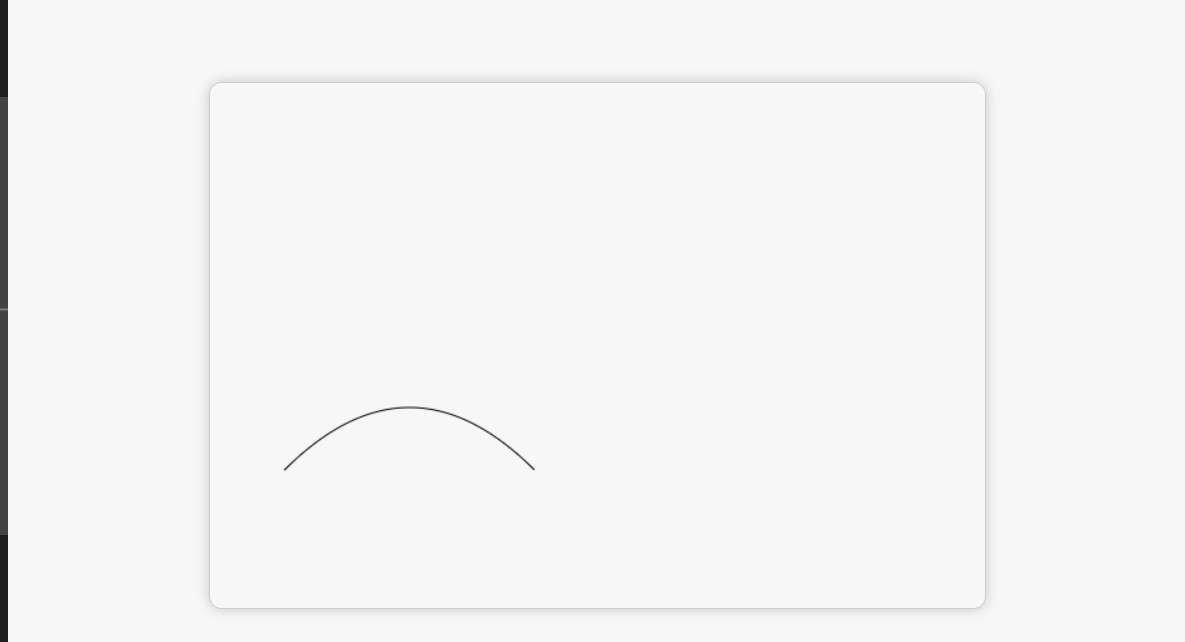
This creates a beautiful, curved line from (50, 300) to (250, 300), with the curve being pulled towards the control point (150, 200). ✨
Cubic Bezier Curves
If you want even more control, you can use cubic Bezier curves, which have two control points. This lets you bend the curve in two directions!
ctx.beginPath();
ctx.moveTo(50, 400); // Start point
ctx.bezierCurveTo(150, 350, 250, 450, 350, 400); // Two control points, end point
ctx.stroke();
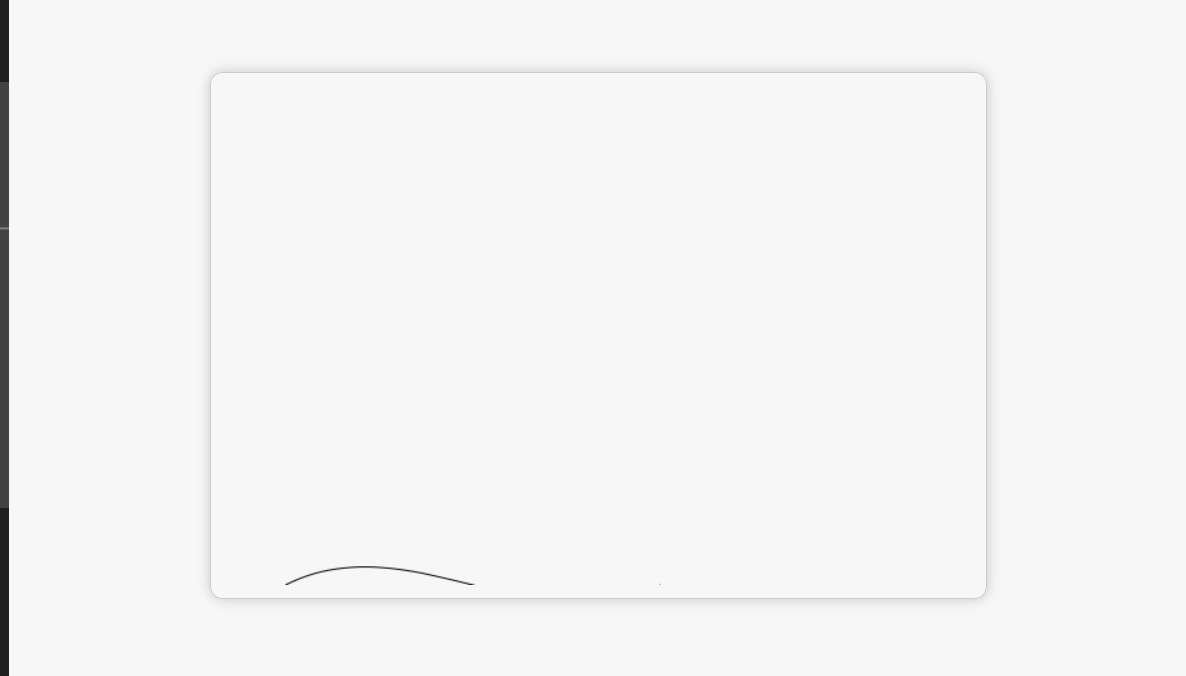
This draws a curve that starts at (50, 400), bends towards two control points, and ends at (350, 400). 🌊
Drawing Complex Shapes with Arcs
You can combine straight lines and curves for more complex designs. Here’s how to add arcs to your path:
ctx.beginPath();
ctx.moveTo(200, 200);
ctx.arcTo(300, 200, 300, 300, 100); // Arc between two lines
ctx.lineTo(200, 300);
ctx.stroke();
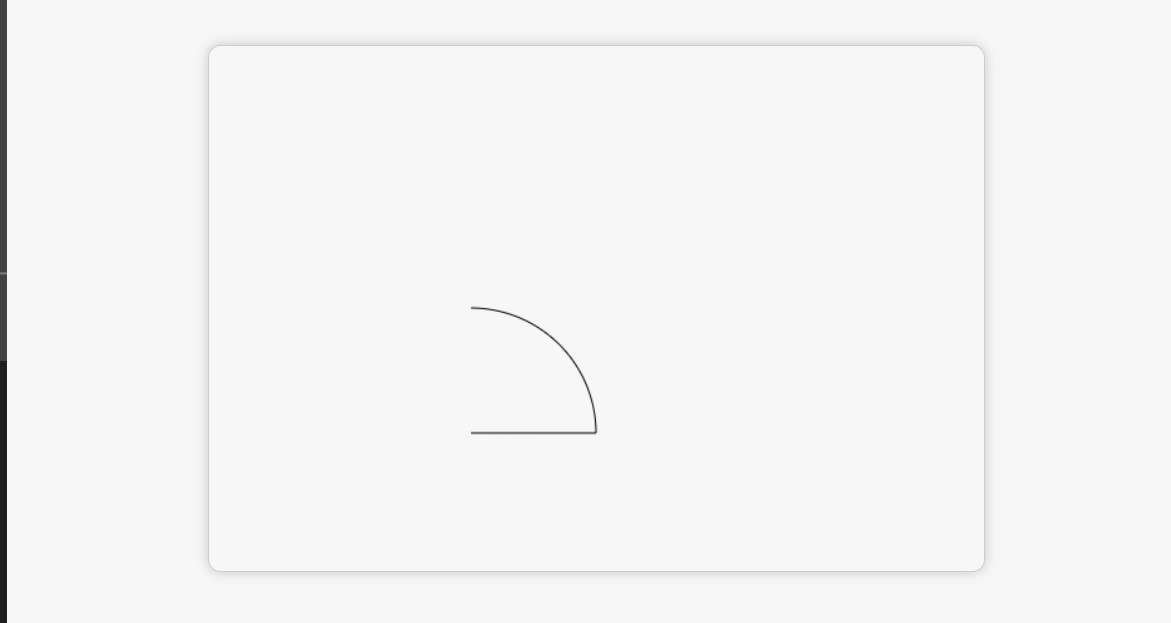
By mastering paths, curves, and arcs, you’re on your way to drawing intricate designs and animations on your canvas. Ready to transform and manipulate these shapes? Let’s go!
4. Canvas Transformations
Canvas transformations are all about changing the position, size, and orientation of your drawings. Want to rotate a shape? Scale it? Move it to a new position? Transformations make all this possible.
Translating and Rotating
Moving Objects with translate()
The translate() method shifts the canvas origin to a new point, allowing you to move your drawings without changing their coordinates:
ctx.translate(100, 100); // Move the canvas origin
ctx.fillStyle = "green";
ctx.fillRect(0, 0, 50, 50); // Draw a rectangle at the new origin
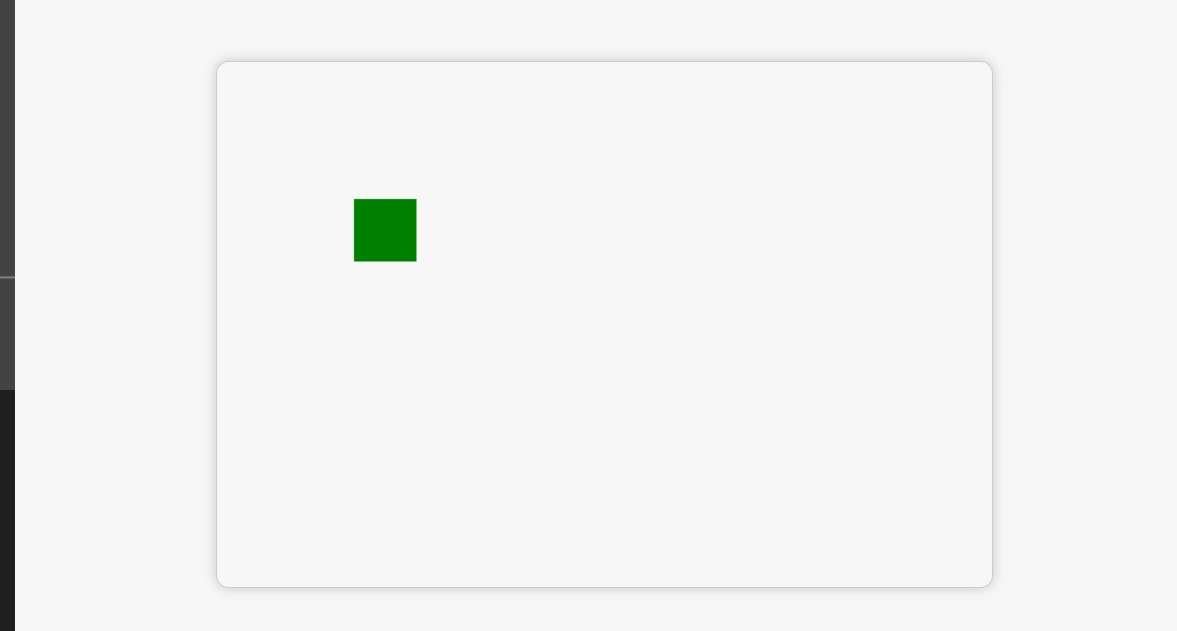
This moves the origin (0, 0) to (100, 100), and draws a green rectangle at the new position. Think of it like picking up your paper and drawing in a different spot! 🟩
Rotating Objects with rotate()
Want to rotate your shapes? Use rotate(). This method rotates the canvas around the origin, so everything drawn after the rotation is affected:
ctx.rotate(Math.PI / 4); // Rotate by 45 degrees
ctx.fillStyle = "purple";
ctx.fillRect(0, 0, 100, 100); // Draw a rotated rectangle
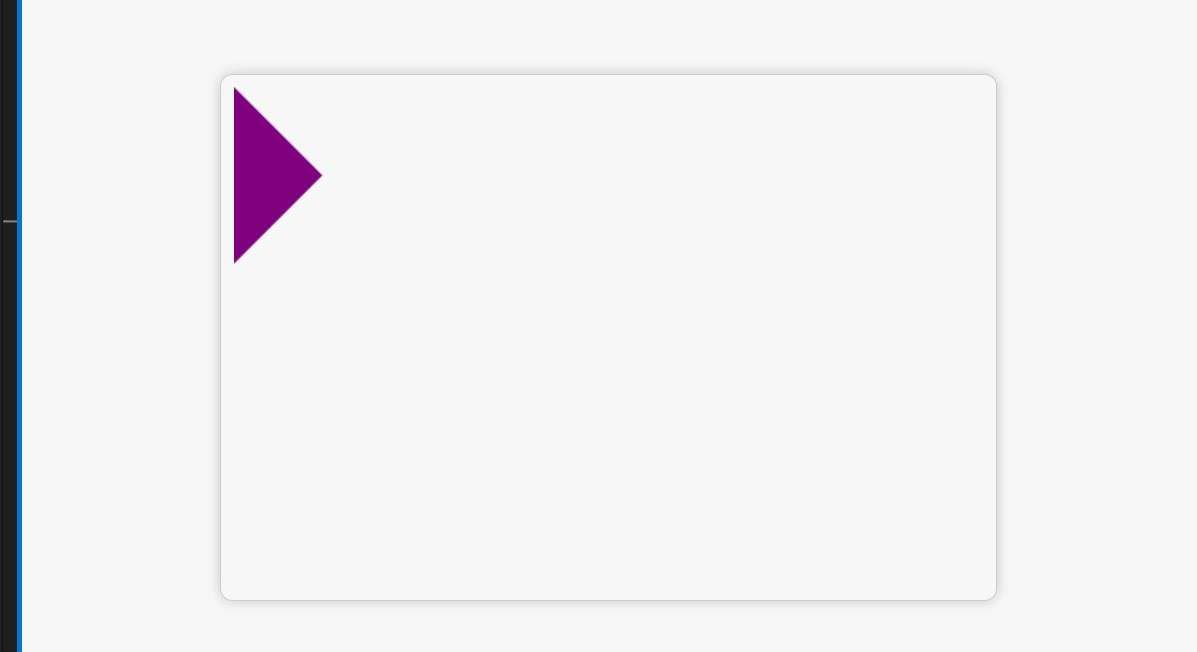
This rotates the canvas by 45 degrees (measured in radians). Your rectangle will now appear at an angle. 🎯
Scaling Objects with scale()
Need to resize your objects? The scale() method stretches or shrinks your drawings horizontally and vertically:
ctx.scale(2, 1); // Double width, keep height the same
ctx.fillStyle = "blue";
ctx.fillRect(0, 0, 50, 50); // Draw a scaled rectangle
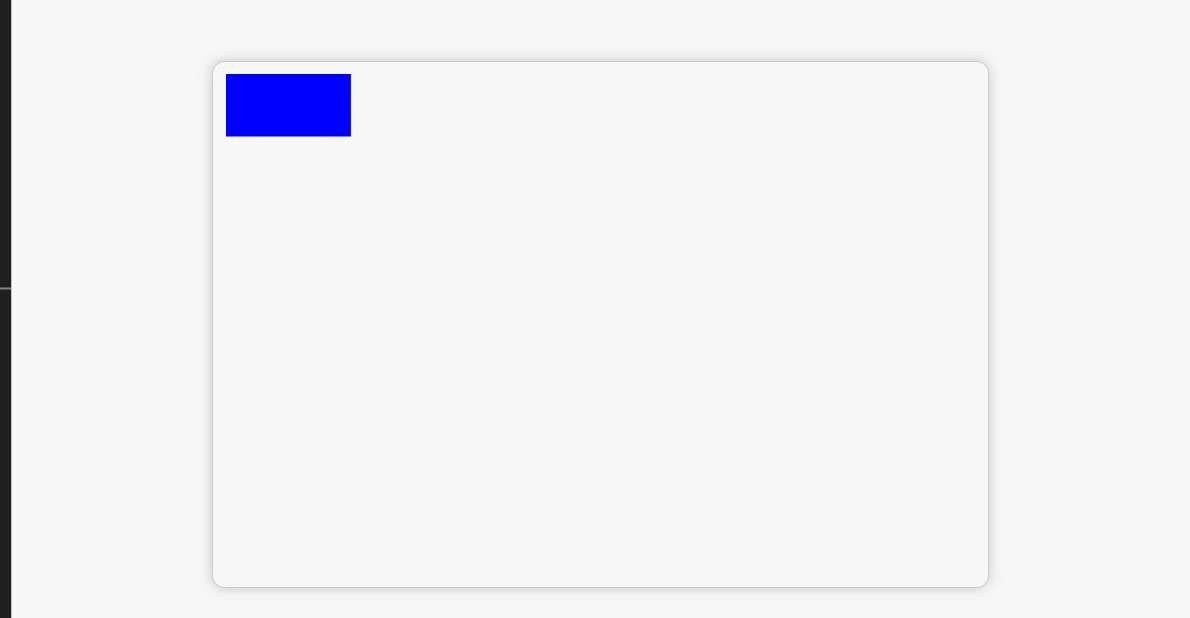
Now, the rectangle will be twice as wide but the same height. Perfect for stretching out shapes! 📏
Understanding the Canvas Coordinate System
When you transform the canvas, you’re essentially altering its coordinate system. For example, when you use translate(), you’re shifting the (0, 0) point to a new location. The same goes for rotate() and scale()—they change how you perceive the canvas grid. Keep this in mind as you work with transformations, as it affects all your subsequent drawings.
Saving and Restoring Canvas States
Once you start transforming the canvas, things can get messy if you don’t reset to your original state. That’s where save() and restore() come in handy. They let you save and restore the canvas’s current state.
Saving the Canvas State
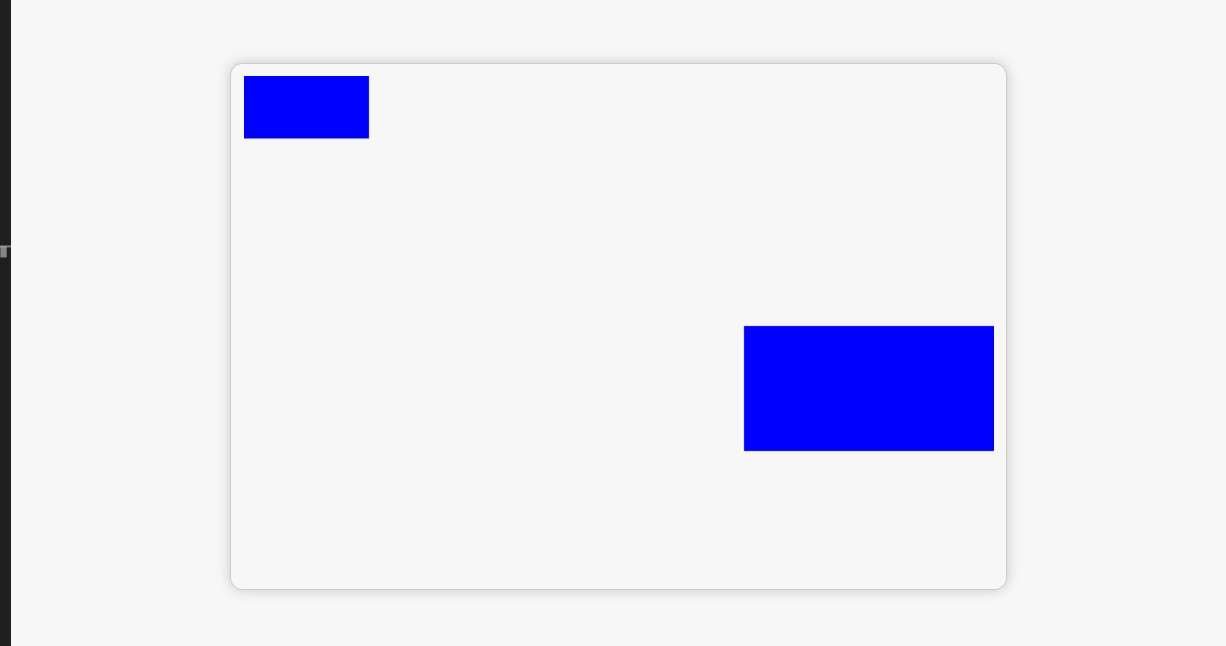
Use save() before you make any transformations to store the current state of the canvas:
ctx.save(); // Save the current state
ctx.translate(200, 200);
ctx.fillRect(0, 0, 100, 100); // Draw a translated rectangle
Restoring the Canvas State
Once you’ve transformed the canvas and finished drawing, use restore() to go back to the saved state:
ctx.restore(); // Restore the canvas to its original state
ctx.fillRect(0, 0, 50, 50); // Draw a non-translated rectangle
With save() and restore(), you can apply transformations to individual objects without affecting the rest of your drawing. 💡
In this section, you’ve learned how to work with paths, curves, and transformations. These techniques give you full control over your drawings, allowing you to move, rotate, scale, and transform shapes in any way you like!
5. Handling Images
Drawing images onto a canvas? Yes, you can! With the Canvas API, you can render images, manipulate them, and even apply cool effects like cropping or adjusting brightness.
Drawing and Manipulating Images
The Canvas API makes it easy to draw images with the drawImage() method. You can place, crop, and scale images all in one go.
Rendering Images on Canvas
To render an image on the canvas, you first need to load it. Let’s start by loading an image and drawing it:
<img id="myImage" src="path/to/your-image.jpg" alt="My Image" style="display:none;">
<canvas id="myCanvas" width="500" height="500"></canvas>

<script>
  const canvas = document.getElementById('myCanvas');
  const ctx = canvas.getContext('2d');
  const img = document.getElementById('myImage');

  img.onload = function() {
    ctx.drawImage(img, 0, 0); // Draw the image at (0, 0)
  };
</script>

This code draws an image onto the canvas once it’s loaded. You can easily place it at any (x, y) coordinate by modifying drawImage(img, x, y).
Cropping and Scaling Images
Want to crop or resize the image? No problem! drawImage() has extra parameters to handle this:
ctx.drawImage(img, 50, 50, 200, 200, 0, 0, 100, 100);
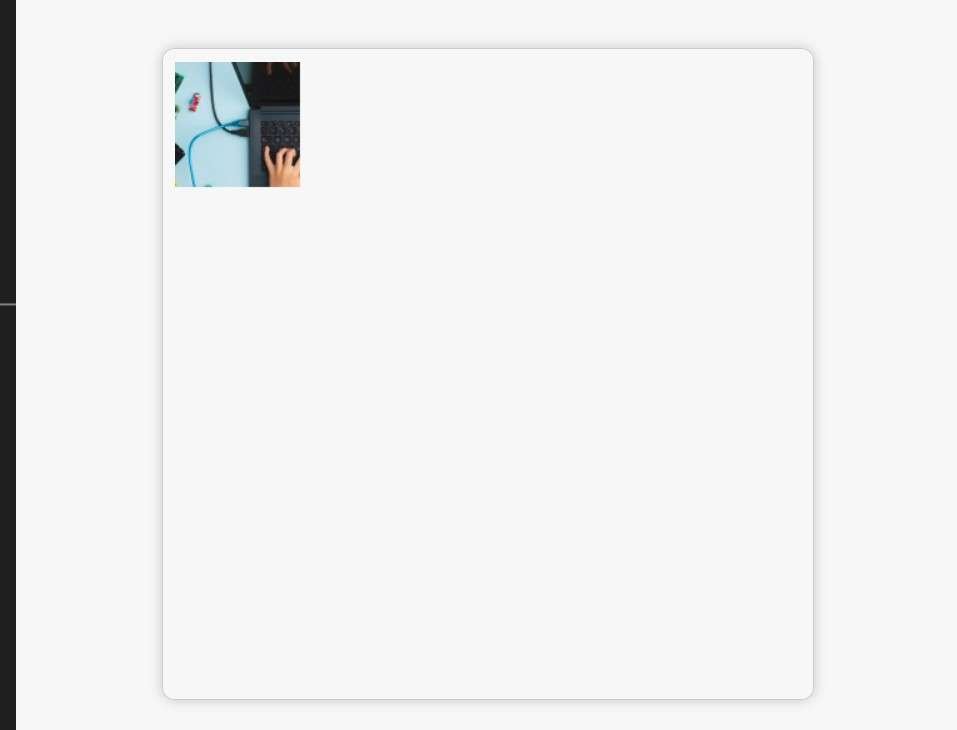
Here’s what’s happening:
- The first four parameters define the source area to crop from the image.
- The last four parameters define where and how large to draw the cropped area on the canvas.
That’s right—you’re cropping and resizing at the same time! 🖼️
Working with Image Data
With the Canvas API, you can go beyond drawing static images—you can manipulate their pixel data for cool effects like filters, grayscale, or brightness adjustments.
Accessing Pixel Data with getImageData()
getImageData() allows you to grab the raw pixel data from any part of the canvas. Each pixel is represented by an array of four values: red, green, blue, and alpha (RGBA).
const imageData = ctx.getImageData(0, 0, canvas.width, canvas.height);
const data = imageData.data; // This is where all the pixel info lives
Now that you have access to the pixel data, let’s play around with it.
Modifying Image Data
You can modify pixel data to apply effects. For example, to turn an image grayscale, you can loop through the pixel data and adjust the color values:
for (let i = 0; i < data.length; i += 4) {
  const avg = (data[i] + data[i + 1] + data[i + 2]) / 3; // Average RGB values
  data[i] = data[i + 1] = data[i + 2] = avg; // Set R, G, B to the average
}

ctx.putImageData(imageData, 0, 0); // Apply the changes to the canvas
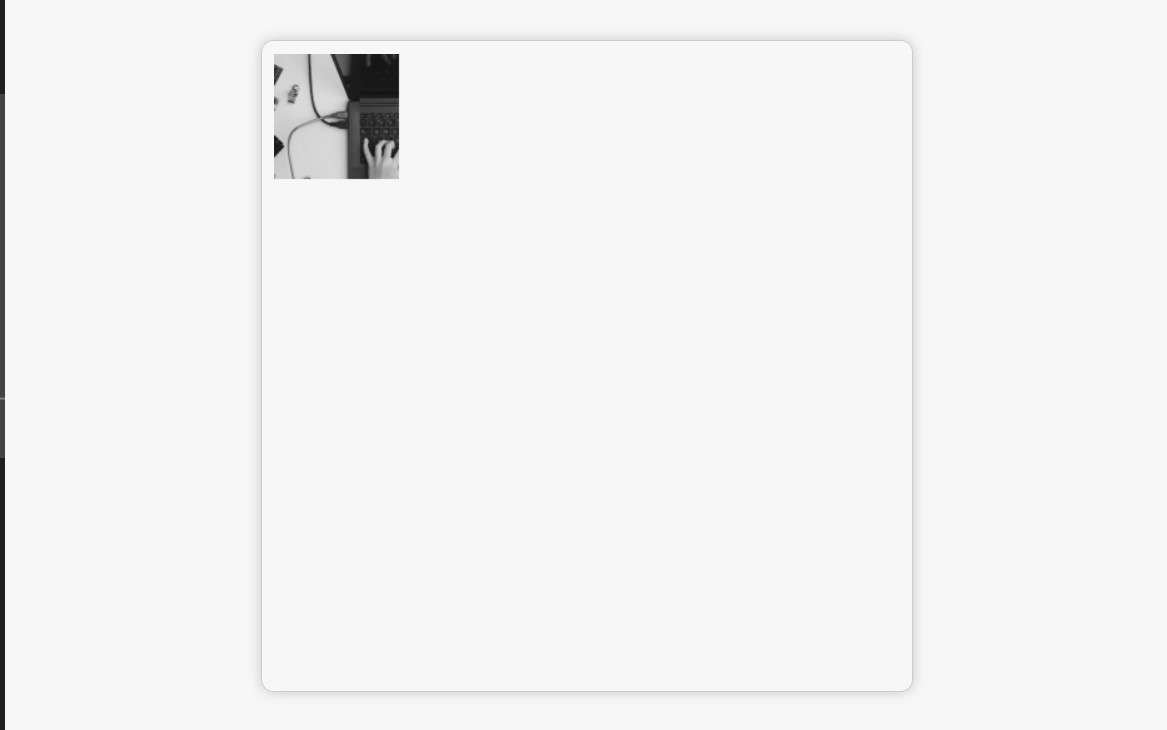
Boom! You’ve got a grayscale image. 🖤 Using similar logic, you can create a brightness effect, apply filters, or even pixelate your image. The possibilities are endless.
6. Animating on Canvas
Now it’s time to bring your canvas to life! Animations in Canvas are all about drawing and redrawing objects at intervals. The magic happens with requestAnimationFrame()—it’s smooth, efficient, and optimized for modern browsers.
Creating Animations
To create an animation, you essentially:
- Draw something on the canvas.
- Clear or redraw the canvas.
- Repeat at regular intervals.
The best way to handle this is using the requestAnimationFrame() function, which allows for smooth animations tied to the browser’s refresh rate.
Using requestAnimationFrame() for Smooth Animations
Let’s create a simple animation where a square moves across the canvas:
let x = 0;
const speed = 2;

function animate() {
  ctx.clearRect(0, 0, canvas.width, canvas.height); // Clear the canvas
  ctx.fillStyle = 'blue';
  ctx.fillRect(x, 50, 50, 50); // Draw the square
  x += speed; // Move the square
  if (x > canvas.width) x = -50; // Reset when off-screen
  requestAnimationFrame(animate); // Keep animating!
}

animate(); // Start the animation

In this example:
- The square moves across the canvas horizontally.
clearRect()clears the previous frame before drawing the new one.- The
requestAnimationFrame()method ensures smooth animation.
Basic Animation Example: Moving an Object
You can animate almost anything on a canvas—text, shapes, images. Here’s a basic example of moving an object (like a ball) across the canvas.
<style>
  body {
    display: flex;
    justify-content: center;
    align-items: center;
    height: 100vh;
    margin: 0;
    font-family: Arial, sans-serif;
    background-color: #f7f7f7;
  }

  #myCanvas {
    border: 1px solid #ccc;
    border-radius: 10px;
    padding: 10px;
    box-shadow: 0 0 10px rgba(0, 0, 0, 0.2);
    margin: 50px auto;
  }
</style>

<canvas id="myCanvas" width="600" height="400"></canvas>

<script>
  const canvas = document.getElementById('myCanvas');
  const ctx = canvas.getContext('2d');

  let posX = 20; // Start position adjusted for the ball radius
  let posY = 100;
  let ballSpeed = 3;
  const ballRadius = 20; // Set the ball's radius

  function moveBall() {
    ctx.clearRect(0, 0, canvas.width, canvas.height); // Clear the canvas
    ctx.beginPath();
    ctx.arc(posX, posY, ballRadius, 0, Math.PI * 2); // Draw the ball
    ctx.fillStyle = '#007bff'; // Set fill color
    ctx.fill(); // Fill the ball with color

    posX += ballSpeed; // Move the ball horizontally

    // Bounce the ball if it hits the canvas boundaries
    if (posX + ballRadius > canvas.width || posX - ballRadius < 0) {
      ballSpeed = -ballSpeed; // Reverse the direction of movement
    }

    requestAnimationFrame(moveBall); // Continue the animation loop
  }

  moveBall(); // Start moving the ball
</script>
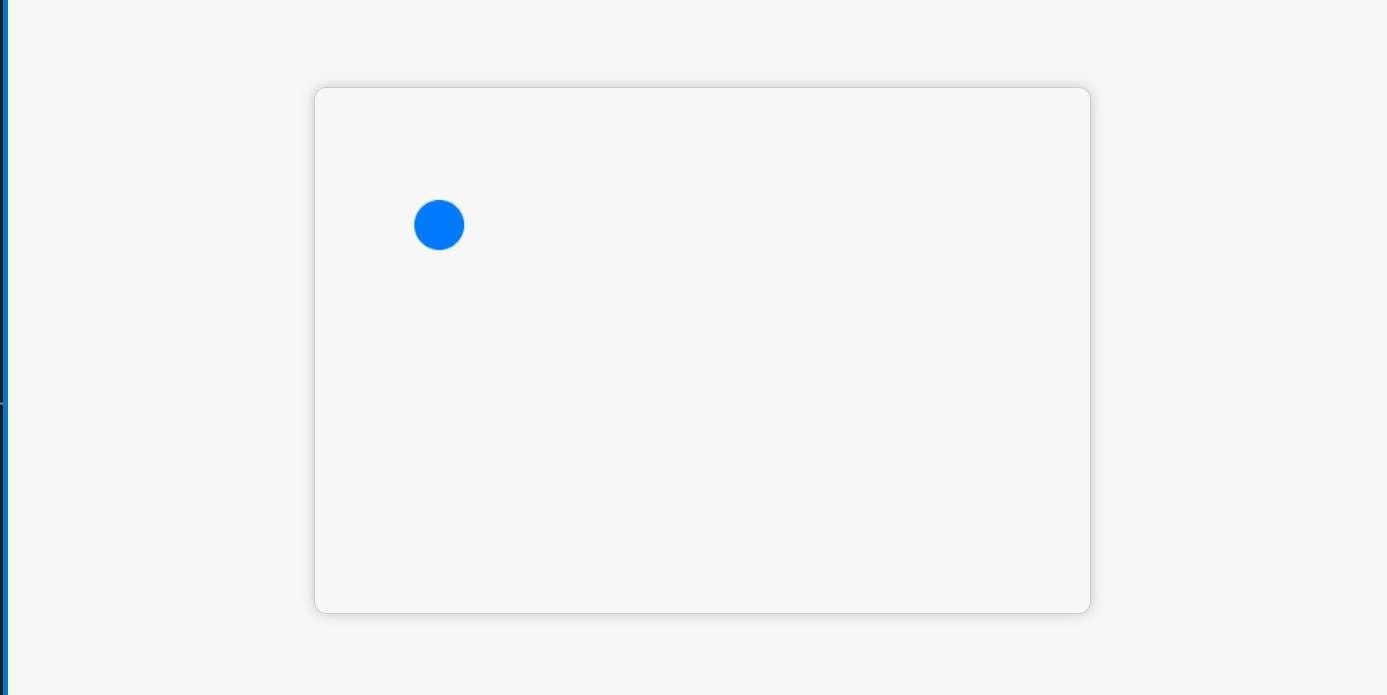
Now, you’ve got a ball that moves across the canvas and bounces off the edges. 🏀 This is the foundation of basic animations!
Creating a Bouncing Ball Effect
To create a more interactive bouncing effect, you can manipulate both the x and y coordinates while adjusting the speed for gravity-like motion:
let ballX = 50, ballY = 50;
let velX = 2, velY = 2.5;
let gravity = 0.1;

function bounceBall() {
  ctx.clearRect(0, 0, canvas.width, canvas.height);
  ctx.beginPath();
  ctx.arc(ballX, ballY, 20, 0, Math.PI * 2);
  ctx.fill();

  ballX += velX;
  ballY += velY;
  velY += gravity; // Simulate gravity

  if (ballY + 20 > canvas.height) {
    velY *= -0.9; // Bounce back with a bit of loss in velocity
    ballY = canvas.height - 20; // Keep the ball within bounds
  }

  if (ballX + 20 > canvas.width || ballX - 20 < 0) {
    velX = -velX; // Bounce off the walls
  }

  requestAnimationFrame(bounceBall);
}

bounceBall();
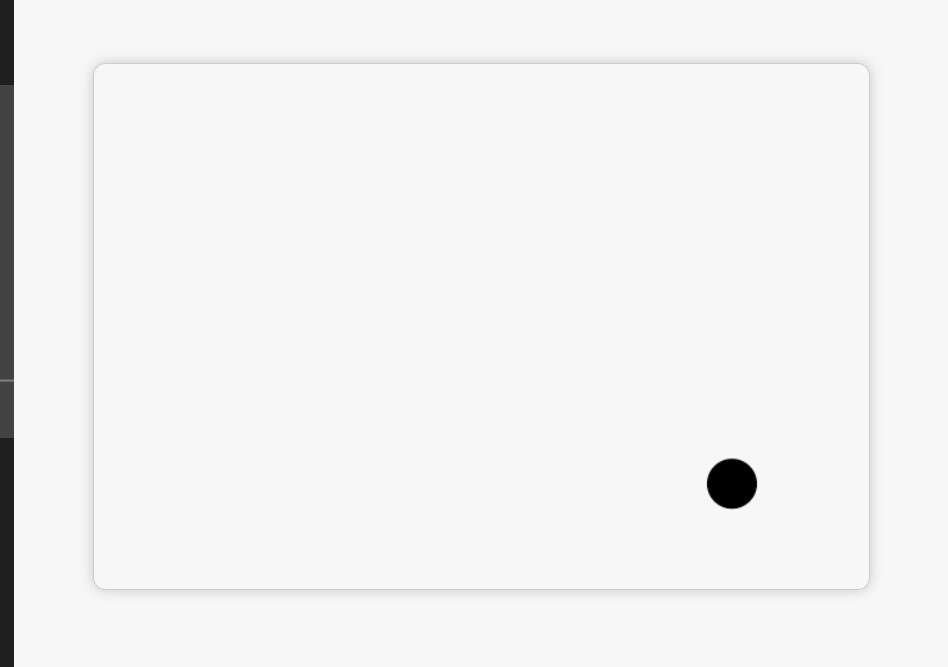
And voilà! You now have a ball bouncing up and down with gravity and bouncing off walls. 🎉
Now that you’ve mastered images and animations, you’re well on your way to building dynamic, interactive experiences with the HTML Canvas API. Next, we’ll cover how to handle user interactions and introduce advanced techniques like particle systems.
Also Read:
- API Integration Simplified: A Complete Guide to HTML APIs and Microformats
- How to Connect Two Pages of a Website: The Ultimate Guide
- JavaScript Hoisting and Scope Quiz
- Canvas API Documetation
- How to Change Text Color in CSS: Everything You Wanted to Know
7. Handling User Interactions
Canvas isn’t just about drawing; you can create interactive experiences that respond to user input like mouse movements, clicks, and even keyboard strokes. Let’s make your canvas interactive!
Mouse and Touch Events
Adding mouse and touch events to your canvas is easy and super useful for creating interactive elements like games, drawing apps, and visual effects.
Detecting Mouse Clicks, Hover, and Touch Events
The canvas element supports events like mousedown, mousemove, and mouseup. You can use these events to detect when and where the user interacts with the canvas.
Here’s an example of detecting a click on the canvas:
<style>
  body {
    display: flex;
    justify-content: center;
    align-items: center;
    height: 100vh;
    margin: 0;
    font-family: Arial, sans-serif;
    background-color: #f7f7f7;
  }

  #myCanvas {
    border: 1px solid #ccc;
    border-radius: 10px;
    padding: 10px;
    box-shadow: 0 0 10px rgba(0, 0, 0, 0.2);
    margin: 50px auto;
  }
</style>

<canvas id="myCanvas" width="600" height="400"></canvas>

<script>
  const canvas = document.getElementById('myCanvas');
 canvas.addEventListener('mousedown', (e) => {
  const x = e.clientX - canvas.offsetLeft;
  const y = e.clientY - canvas.offsetTop;
  console.log(`Mouse clicked at (${x}, ${y})`);
});


</script>
This will be shown in console after inspecting.
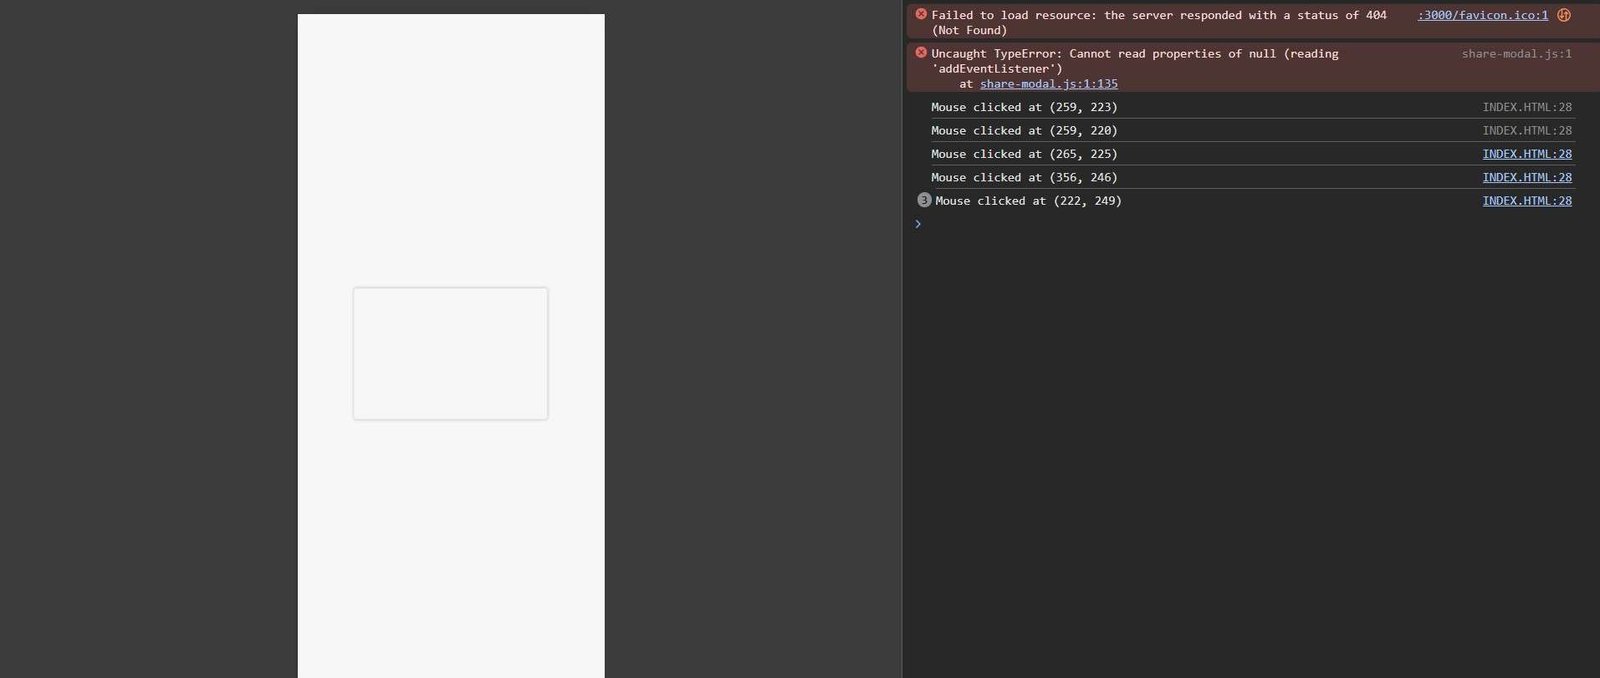
Now, when the user clicks on the canvas, the coordinates of the click are logged. You can expand this to draw, change colors, or create interactive elements!
Creating Interactive Elements on Canvas
Want to create a simple drawing tool where the user can draw on the canvas by holding the mouse down? Let’s do it:
<style>
  body {
    display: flex;
    justify-content: center;
    align-items: center;
    height: 100vh;
    margin: 0;
    font-family: Arial, sans-serif;
    background-color: #f7f7f7;
  }

  #myCanvas {
    border: 1px solid #ccc;
    border-radius: 10px;
    padding: 10px;
    box-shadow: 0 0 10px rgba(0, 0, 0, 0.2);
    margin: 50px auto;
  }
</style>

<canvas id="myCanvas" width="600" height="400"></canvas>

<script>
  const canvas = document.getElementById('myCanvas');
  const ctx = canvas.getContext('2d'); // Get the 2D context
  let drawing = false;

  // Start drawing
  canvas.addEventListener('mousedown', (e) => {
    drawing = true;
    ctx.beginPath(); // Start a new path
    const x = e.clientX - canvas.offsetLeft;
    const y = e.clientY - canvas.offsetTop;
    ctx.moveTo(x, y); // Move to the starting point
  });

  // Stop drawing
  canvas.addEventListener('mouseup', () => drawing = false);
  canvas.addEventListener('mousemove', draw);

  function draw(e) {
    if (!drawing) return;
    const x = e.clientX - canvas.offsetLeft;
    const y = e.clientY - canvas.offsetTop;
    ctx.lineTo(x, y); // Draw a line to the new point
    ctx.stroke(); // Render the path
  }
</script>
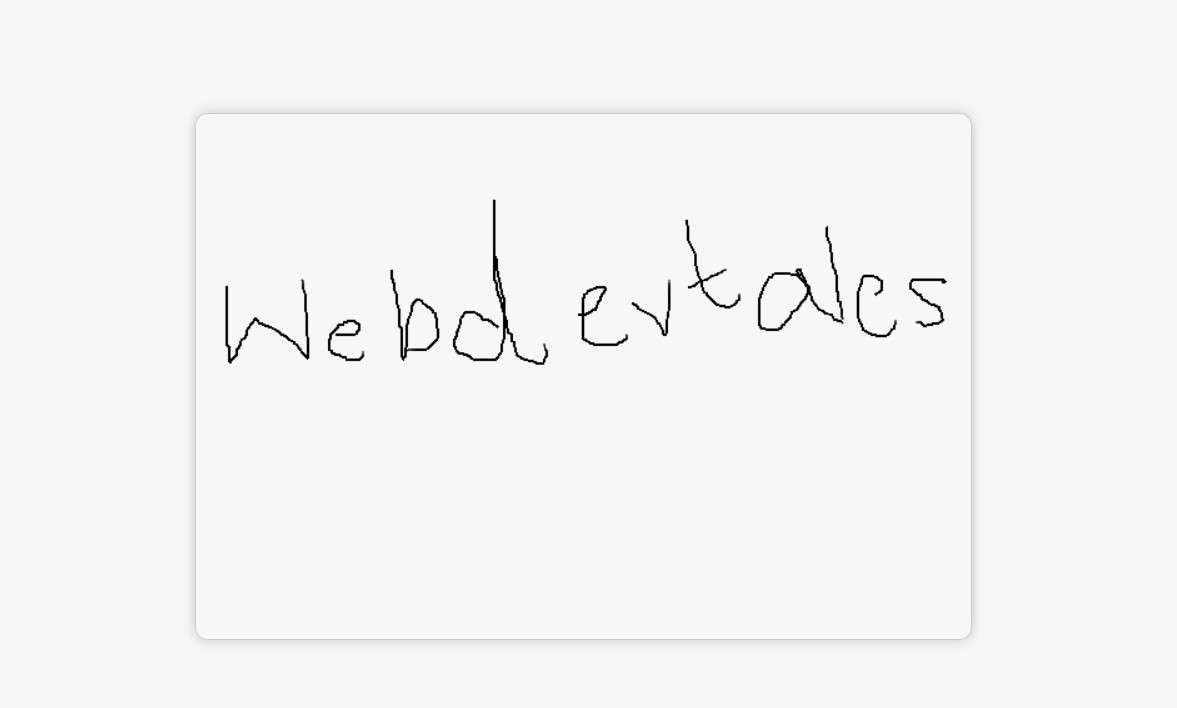
Let me share one of my best Drawings. 😁😁😁😁
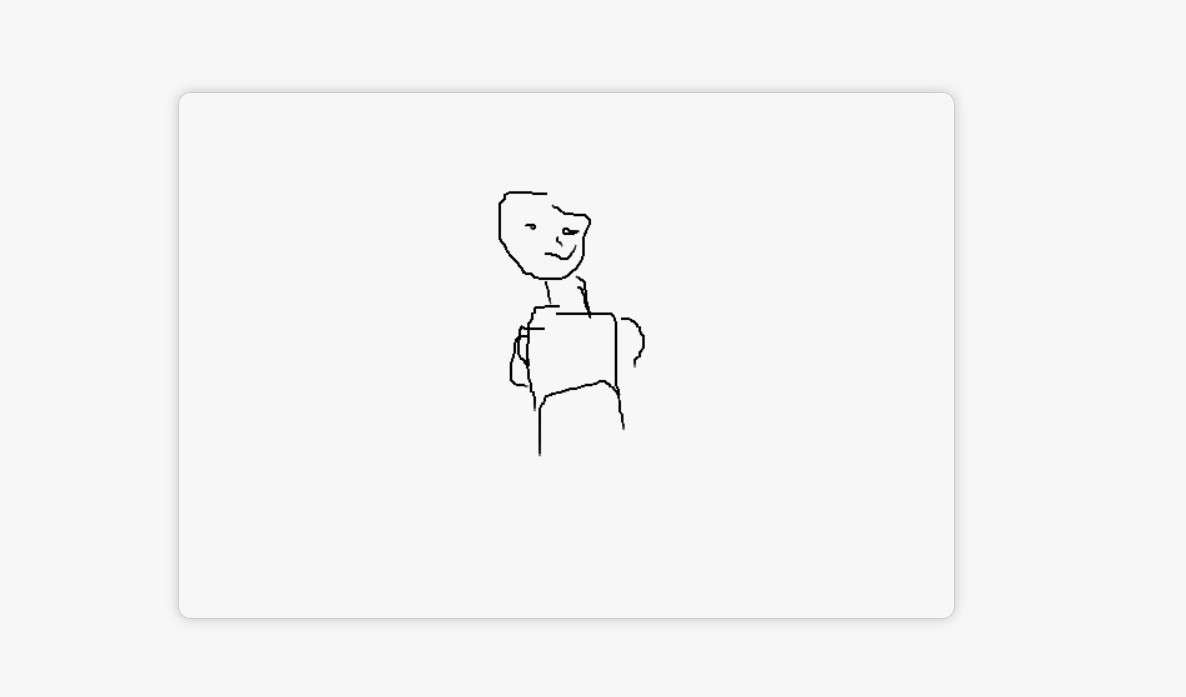
Now you can also draw freehand shapes by simply dragging your mouse across the canvas! 🖌️
Keyboard Controls
For projects like games, capturing keyboard input allows you to move objects or trigger actions based on specific key presses. This adds another layer of interactivity to your canvas.
Capturing Keyboard Inputs for Interactive Projects
Here’s an example of using the arrow keys to move a shape across the canvas:
<style>
  body {
    display: flex;
    justify-content: center;
    align-items: center;
    height: 100vh;
    margin: 0;
    font-family: Arial, sans-serif;
    background-color: #f7f7f7;
  }

  #myCanvas {
    border: 1px solid #ccc;
    border-radius: 10px;
    padding: 10px;
    box-shadow: 0 0 10px rgba(0, 0, 0, 0.2);
    margin: 50px auto;
  }
</style>

<canvas id="myCanvas" width="600" height="400"></canvas>

<script>
  const canvas = document.getElementById('myCanvas');
  const ctx = canvas.getContext('2d'); // Get the 2D context
  let posX = 100, posY = 100;

  // Set the fill color for the square
  ctx.fillStyle = 'black';

  // Initial drawing
  drawShape();

  document.addEventListener('keydown', (e) => {
    if (e.key === 'ArrowUp') posY -= 10;
    if (e.key === 'ArrowDown') posY += 10;
    if (e.key === 'ArrowLeft') posX -= 10;
    if (e.key === 'ArrowRight') posX += 10;
    drawShape();
  });

  function drawShape() {
    ctx.clearRect(0, 0, canvas.width, canvas.height);
    ctx.fillRect(posX, posY, 50, 50); // Move the square
  }
</script>
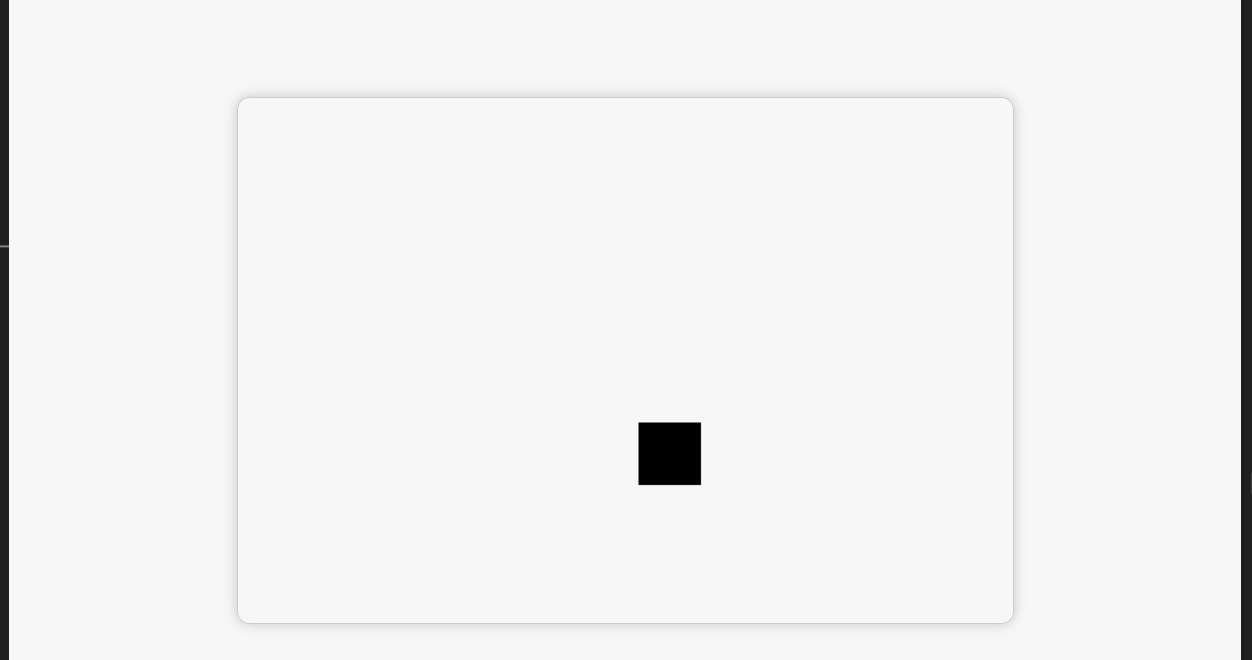
Now you can use the arrow keys to move the square around the canvas! 🎮
8. Advanced Techniques
Let’s level up! Time for some advanced techniques like particle systems and optimizing performance using offscreen canvases.
Creating Particle Systems
Particle systems are perfect for creating visual effects, like fireworks, snow, or smoke. These systems involve managing lots of small moving objects (particles) to create a dynamic, animated scene.
Exploding Particles on Click
Let’s create an example where particles explode outwards when the user clicks on the canvas:
<style>
  body {
    display: flex;
    justify-content: center;
    align-items: center;
    height: 100vh;
    margin: 0;
    font-family: Arial, sans-serif;
    background-color: #f7f7f7;
  }

  #myCanvas {
    border: 1px solid #ccc;
    border-radius: 10px;
    padding: 10px;
    box-shadow: 0 0 10px rgba(0, 0, 0, 0.2);
    margin: 50px auto;
  }
</style>

<canvas id="myCanvas" width="600" height="400"></canvas>

<script>
  const canvas = document.getElementById('myCanvas');
  const ctx = canvas.getContext('2d'); // Get the 2D context
  canvas.addEventListener('click', (e) => {
    const particles = [];
    const x = e.clientX - canvas.offsetLeft;
    const y = e.clientY - canvas.offsetTop;

    for (let i = 0; i < 100; i++) {
      particles.push({
        x,
        y,
        vx: (Math.random() - 0.5) * 10,
        vy: (Math.random() - 0.5) * 10,
        life: 100,
        color: getRandomColor() // Assign a random color to each particle
      });
    }

    animateParticles(particles);
  });

  function animateParticles(particles) {
    const animation = () => {
      ctx.clearRect(0, 0, canvas.width, canvas.height);

      particles.forEach(p => {
        p.x += p.vx;
        p.y += p.vy;
        p.life -= 1;
        ctx.beginPath();
        ctx.arc(p.x, p.y, 2, 0, Math.PI * 2);
        ctx.fillStyle = p.color; // Set the fill color for each particle
        ctx.fill();

        if (p.life <= 0) particles.splice(particles.indexOf(p), 1); // Remove dead particles
      });

      if (particles.length > 0) requestAnimationFrame(animation); // Keep animating until all particles are gone
    };

    animation();
  }

  function getRandomColor() {
    const r = Math.floor(Math.random() * 256);
    const g = Math.floor(Math.random() * 256);
    const b = Math.floor(Math.random() * 256);
    return `rgb(${r}, ${g}, ${b})`;
  }
</script>
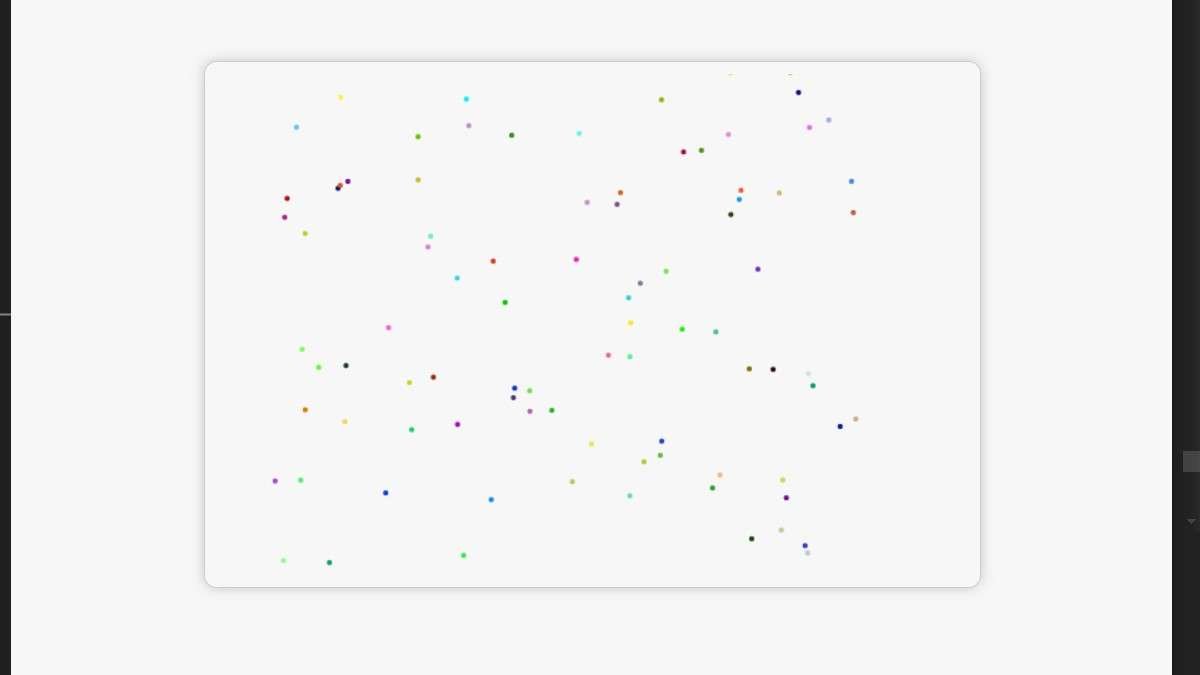
Now, when you click, particles will explode from the click position! 🎇 It’s a simple yet powerful technique for adding visual flair to your canvas projects.
And yeah I have gone one step forward and have made the particles of multiple colors to make it more appealing to the eye.
Using Offscreen Canvas
Rendering complex animations or particle systems can sometimes slow down your main canvas. Using an offscreen canvas allows you to draw in the background, improving performance by transferring the result to the visible canvas only when necessary.
Here’s how you can set up an offscreen canvas:
  const canvas = document.getElementById('myCanvas');
  const ctx = canvas.getContext('2d'); // Get the 2D context of the visible canvas

  const offCanvas = document.createElement('canvas');
  const offCtx = offCanvas.getContext('2d');

  // Set dimensions
  offCanvas.width = 500;
  offCanvas.height = 500;

  // Draw offscreen
  offCtx.fillStyle = 'red';
  offCtx.fillRect(50, 50, 100, 100);

  // Copy the offscreen content to the visible canvas
  ctx.drawImage(offCanvas, 0, 0);
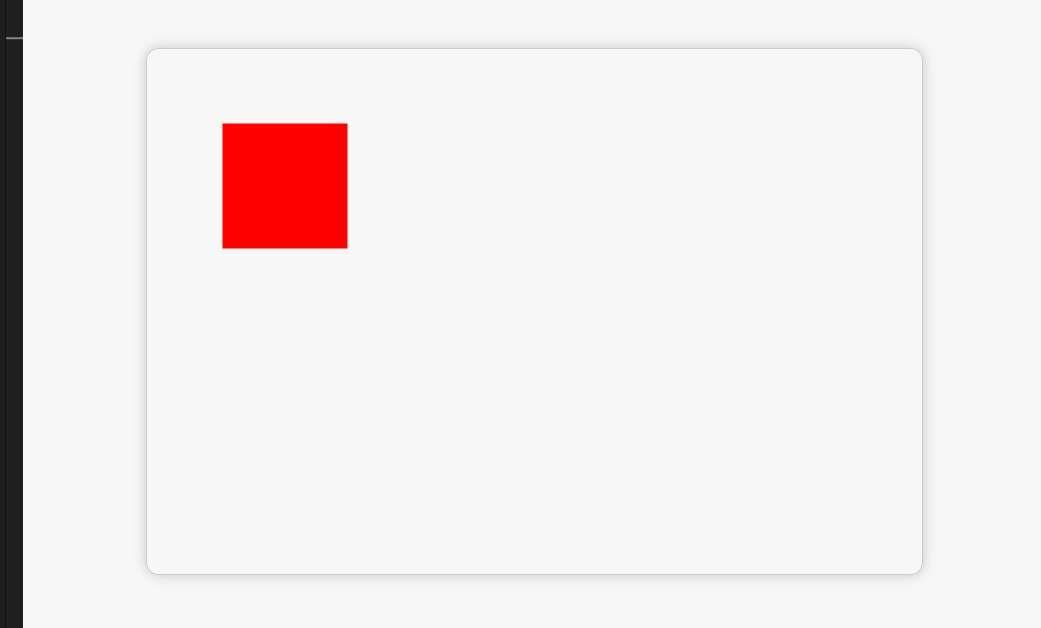
Using offscreen canvases is a great way to handle complex drawing tasks efficiently.
9. Integrating Canvas with Other HTML Elements
Canvas doesn’t work alone—you can integrate it with other HTML elements like form inputs to make your web projects more interactive.
Using Canvas with Form Inputs
You can dynamically change canvas properties based on form input values, such as colors, line widths, or shapes.
Let’s make a canvas where the user can pick a brush color using an input element:
<input type="color" id="colorPicker">
<canvas id="myCanvas" width="500" height="500"></canvas>

<script>
  const colorPicker = document.getElementById('colorPicker');
  colorPicker.addEventListener('input', (e) => {
    ctx.strokeStyle = e.target.value; // Update brush color
  });
</script>
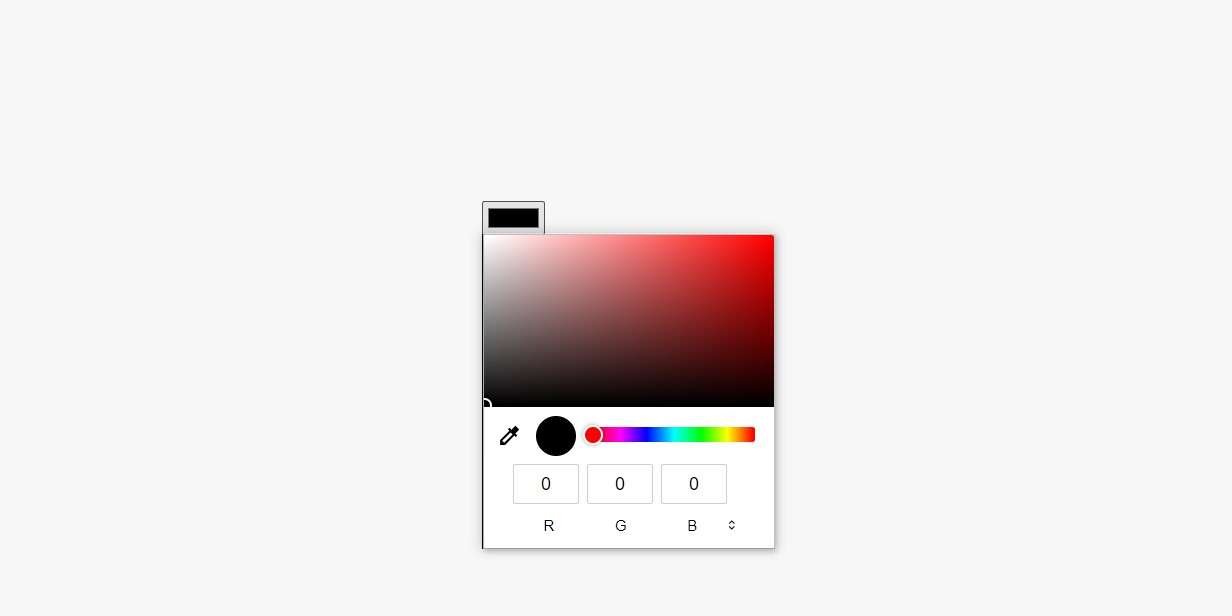
Now, when the user picks a color, the brush color on the canvas updates dynamically. 🎨
Combining Canvas with CSS
While the canvas itself doesn’t interact with CSS directly, you can style the canvas container and make your design responsive. This is particularly useful for web apps where the canvas needs to adjust based on screen size.
<!DOCTYPE html>
<html>
<head>
  <meta charset="UTF-8">
  <title>Canvas with CSS</title>
  <style>
    /* Add some basic styling to our canvas */
    canvas {
      margin: 200px;
      border: 1px solid black;
      border-radius: 10px;
      box-shadow: 0 0 10px rgba(0, 0, 0, 0.2);
    }

    /* Add a CSS animation to our canvas */
    canvas.animate {
      animation: spin 2s linear infinite;
    }

    @keyframes spin {
      0% {
        transform: rotate(0deg);
      }
      100% {
        transform: rotate(360deg);
      }
    }
  </style>
</head>
<body>
  <canvas id="myCanvas" width="400" height="400"></canvas>

  <script>
    // Get the canvas element
    const canvas = document.getElementById('myCanvas');
    const ctx = canvas.getContext('2d');

    // Set the background color of the canvas
    ctx.fillStyle = 'rgba(255, 255, 255, 1)';
    ctx.fillRect(0, 0, canvas.width, canvas.height);

    // Add some basic drawing to our canvas
    ctx.fillStyle = 'rgba(255, 0, 0, 1)';
    ctx.fillRect(150, 150, 100, 100);

    // Add the CSS animation class to our canvas
    canvas.classList.add('animate');
  </script>
</body>
</html>
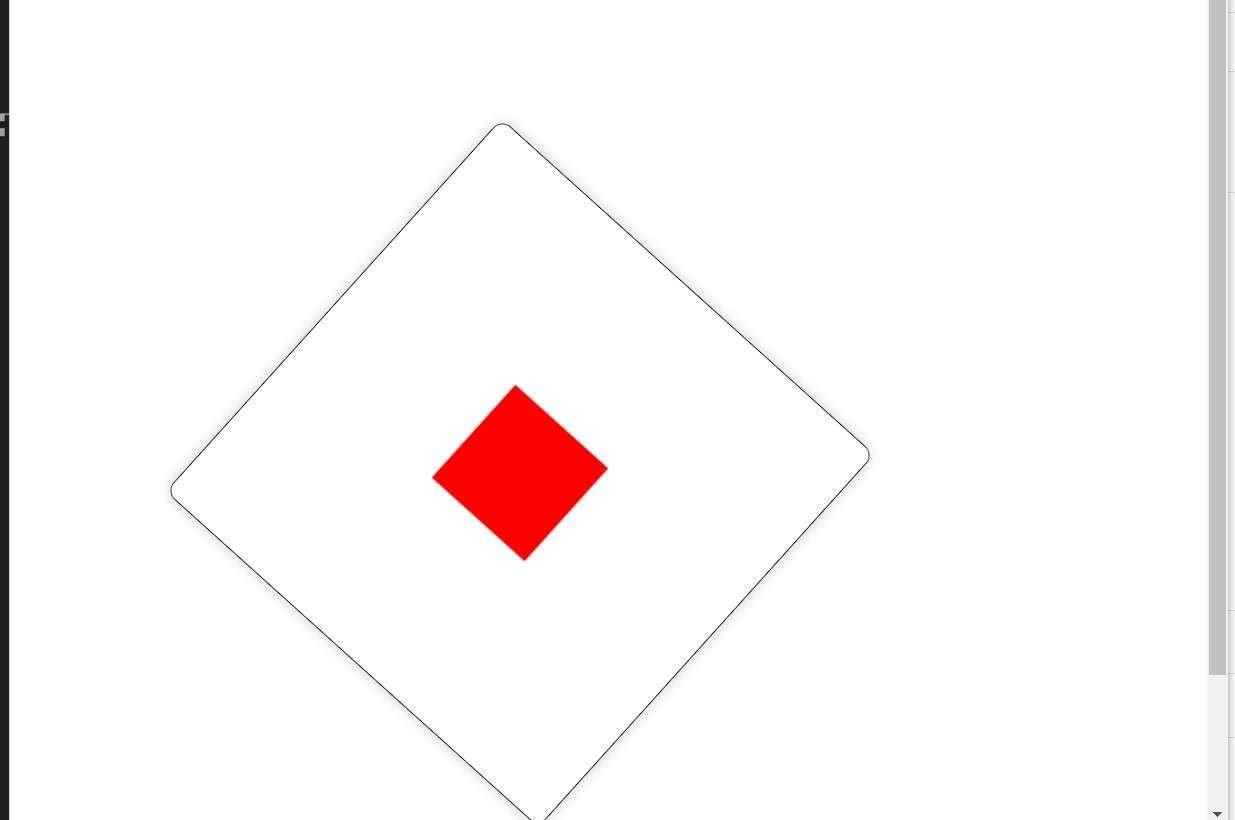
This CSS ensures the canvas is always 100% wide while maintaining its aspect ratio. You can also apply CSS styling to buttons, sliders, or inputs that interact with the canvas, making the whole experience sleek and responsive.
With this, you’ve mastered handling user interactions, explored advanced techniques like particle systems and offscreen canvases, and integrated canvas with other HTML elements. You’re on your way to building dynamic and interactive projects with the HTML Canvas API! 🌟
FAQs
What is the HTML Canvas API used for?
The HTML Canvas API allows you to draw graphics and animations directly in the browser, offering the ability to create interactive elements, games, visualizations, and more. It’s great for dynamic content that needs to be updated in real time.
What’s the difference between <canvas> and SVG?
While both <canvas> and SVG are used for drawing graphics, <canvas> is pixel-based and focuses on dynamic, immediate-mode graphics. SVG, on the other hand, uses vector-based paths and is better suited for static or scalable graphics that don’t need real-time updates.
How do I access the 2D drawing context in Canvas?
You can access the 2D context by first selecting the canvas element in JavaScript and then using getContext('2d'). This gives you the drawing methods for creating shapes, text, and images.
Can I animate elements on a canvas?
Yes! Using requestAnimationFrame(), you can create smooth animations by updating the canvas at regular intervals. This function helps create optimized animations without consuming too much processing power.
How can I save the content I draw on a canvas?
You can save the content of a canvas as an image using the toDataURL() method. This allows you to download the canvas content in formats like PNG or JPEG, making it easy to share or export your work.


